5 Ways to Record a Livestream on a Mac for Free
Try Movavi Screen Recorder!
Record your streams to watch them later
Capture video and audio streams separately
Show keystrokes and cursor position
Want to know how to record a livestream on a Mac? In this article, you’ll learn how to record a live stream on a Mac in 5 different ways.
Quick summary
Recording and editing high-quality livestreams: Movavi Screen Recorder
Capturing without installing additional software: Screencapture.com
Recording directly in your browser: Loom
Our goal is to provide you with only verified information. To ensure this, Movavi Content Team does the following:
When selecting products to include in our reviews, we research both demand and popularity.
The team tests all the products mentioned in this article.
When testing, we compare the key characteristics of the products, which include selecting capture area, schedule recording, showing keystrokes and mouse, and other significant features.
We study user reviews from popular review platforms and make use of this information when writing our product reviews.
We collect feedback from our users and analyze their opinions of Movavi software as well as products from other companies.

How to record streaming video on a Mac with Movavi Screen Recorder
Best for: recording and editing livestreams
Let’s start with installable software. It has more features than built-in tools and can be customized to meet your needs. The main disadvantage is that you have to install it, which may be impossible if you don’t have administrative rights for it, for example, on a Mac you use for work. However, if you find installable software more convenient, you can figure this out with your company’s IT team.
Movavi Screen Recorder is a powerful video ripper that will easily capture streaming videos on a Mac. Just download the program and follow the simple instructions below to learn how to record streaming videos on Mac.
Download and open the distribution file and follow the installation instructions. The program is available for Mac OS Х 10.9 or higher.
Step 2. Set the capturing parameters
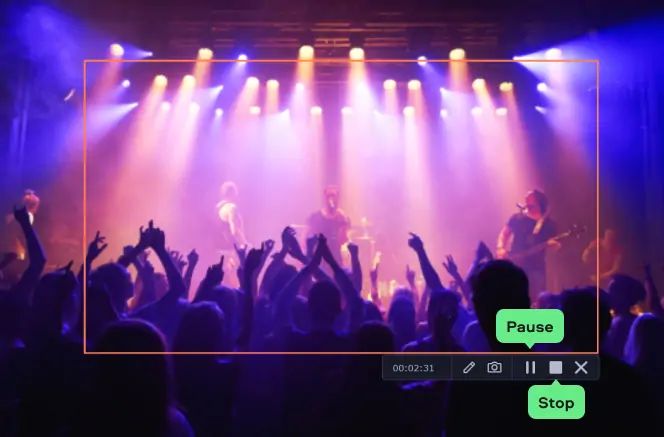
Go to the streaming site and cue up the video you want to download. Launch the software, press the Screen recording button, and draw the orange capture frame over the video area on the screen.
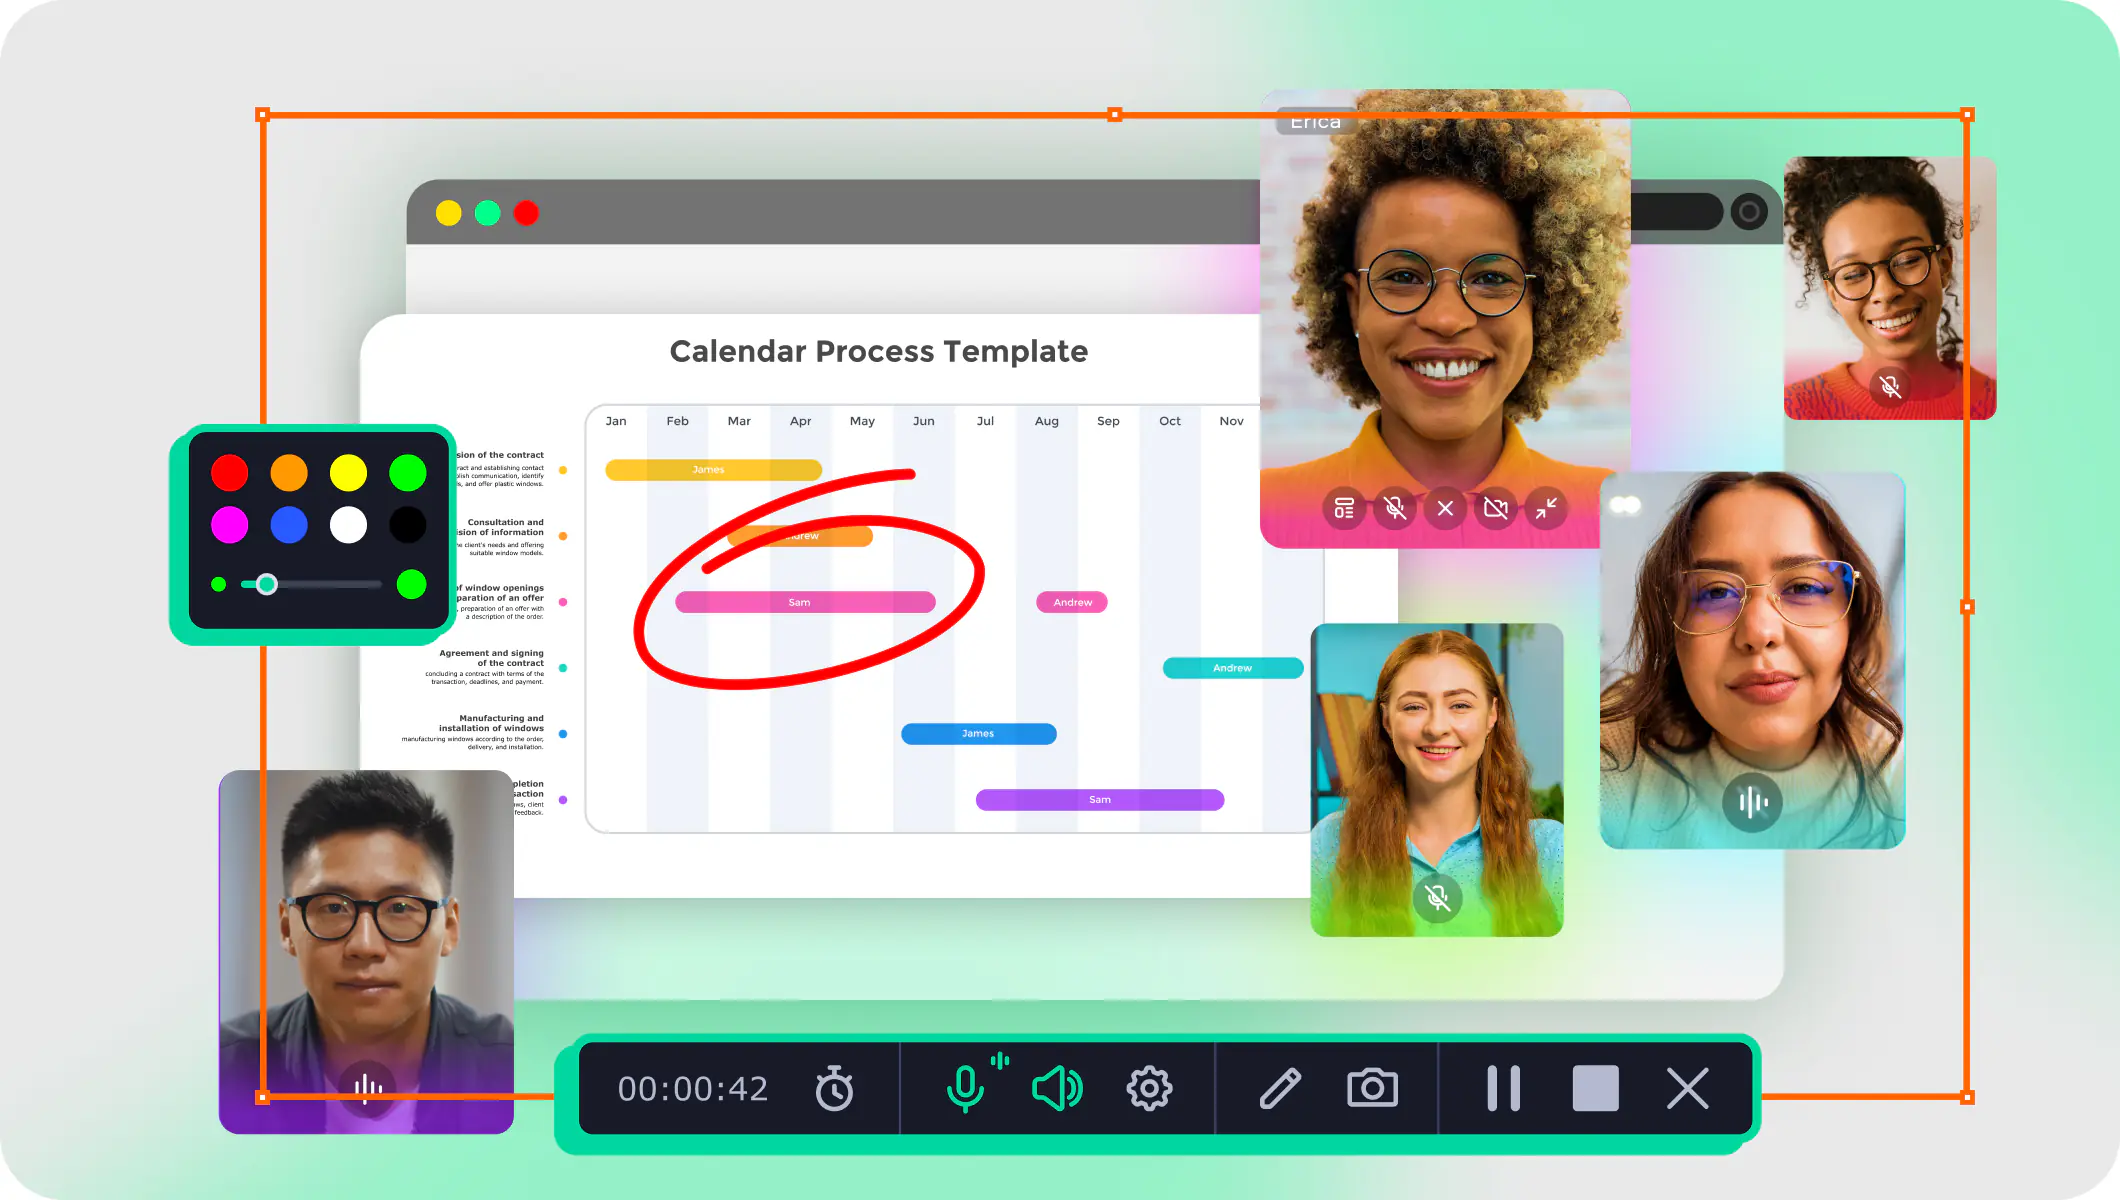
If you don’t want to sit in front of your Mac and watch the recording process, you can set the timer in the Settings menu. The program will end the recording after a designated amount of time has elapsed, so you can leave the computer and get on with your life while the recording is happening.

Step 3. Download the streaming video on your Mac
Click REC and get ready to play your video – you have three seconds. You can manage the video capturing process by clicking the Pause and Stop buttons or pressing ⌥ ⌘ 1 to pause/resume the recording and ⌥ ⌘ 2 to stop capturing. By default, the recording will be saved in MKV format and open in a preview window. If your media file contains ads or other parts you don't want to keep, or you want to save it in another format, go on to the next step.
Step 4. Edit and convert the video (optional)
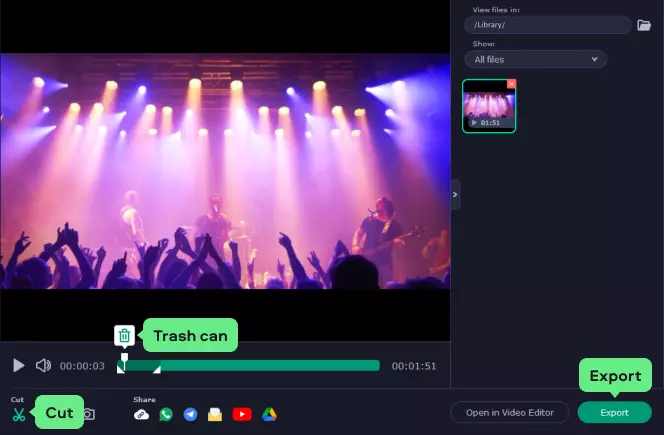
If you want to remove the unwanted parts of the video, do the following: click the Cut button, place the markers on the timeline at the edges of the segment you want to get rid of, and click the Trash Can icon. Once you're ready to save the changes and convert the video, click Export.
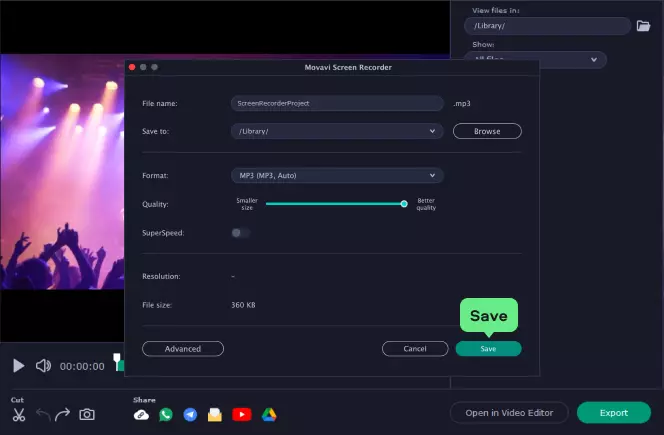
In the new export window, choose the format for saving and click Save.
Now you know how to record a live stream on a Mac with Movavi.
Let’s list the essential information on this software:
Pros:
Record system sound and microphone simultaneously or separately
Capture anything from your screen, complete with keystrokes and mouse actions
Schedule to record at any time, then watch later
Save your recordings in HD, Full HD, and even 4K
Draw on recordings and screenshots for easier explanations
Smooth performance on Mac as well as Windows
Cons:
To have full access to all the features the app has to offer, you need to get the full version of the program
For more reviews on the program, follow the link below:
How to record a livestream on a Mac using hotkeys
Best for: macOS Mojave owners
If you need to capture a streaming video on a Mac, you do not need additional software. For video recordings and capturing images, you can use the inbuilt Screenshot tool with keyboard shortcuts. However, this option is only available on macOS Mojave or later versions. Though the idea of using keyboard shortcuts seems a little intimidating, it's quite simple.
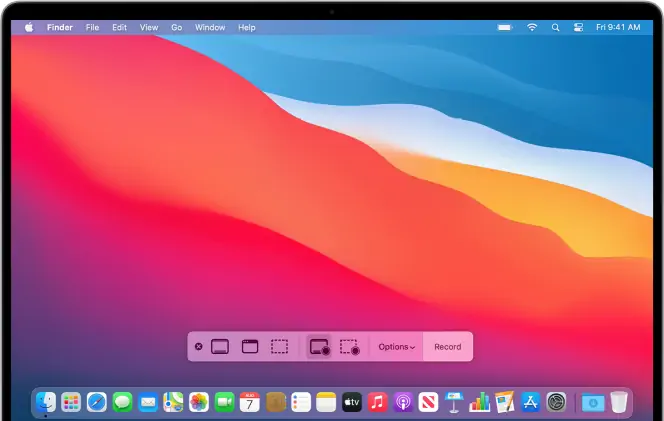
Here’s how to record a streaming video on your Mac with audio:
With your recordings saved, you can edit them and merge them with other files to create videos as you please.
Now you know how to capture a streaming video on a Mac with hotkeys.
Pros:
No need to install a streaming video recorder for Mac
Easy to use
Cons:
Suitable for basic use
How to use a built-in streaming video recorder for Mac
Best for: simple recordings without editing
If hotkeys are not your cup of soup or you do not have Mojave, you may wonder how to record a streaming video on a Mac for free. Well, it's still relatively easy, and you do not need to download any tools. QuickTime Player, which is a freeware that comes with your Mac, will do.
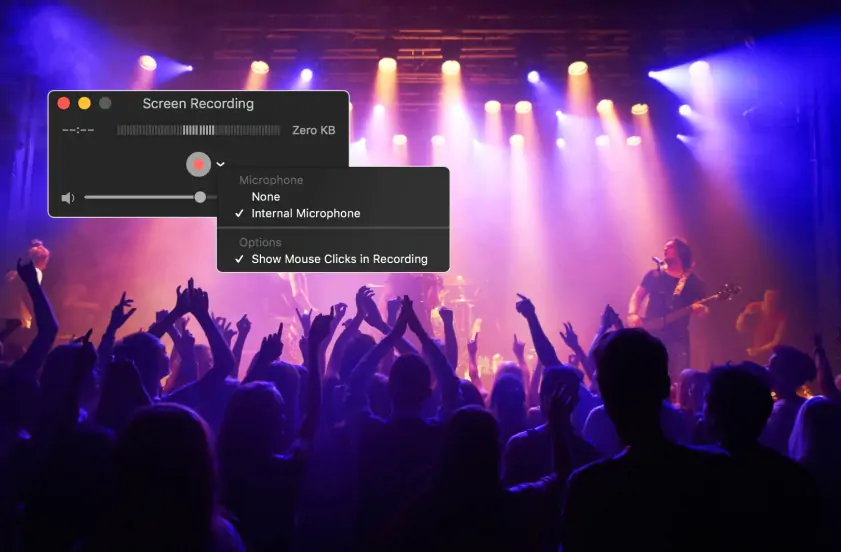
Here's how to record a live stream on your Mac:
Pros:
No need to download software for OS X
Easy to record live streaming video on a Mac
Cons:
Limited features
Similar guides
How to download streaming video on a Mac with Free Online Screen Recorder
Best for: recording screen without installing additional software
If you prefer capturing live streams on a Mac from the internet without the need to download an installer or software, Screencapture.com is the ideal solution. This is a purely online tool that you can use to copy anything displayed on your screen. Once you've accessed the website, everything is readily displayed, making It easy to begin recording.
You can either choose the free version or the paid one. With the free version, your recordings will have a watermark. For the premium plan, you will only need to pay $4.95 monthly. Along with capturing your screen, it also enables you to grab webcam feed and sound.
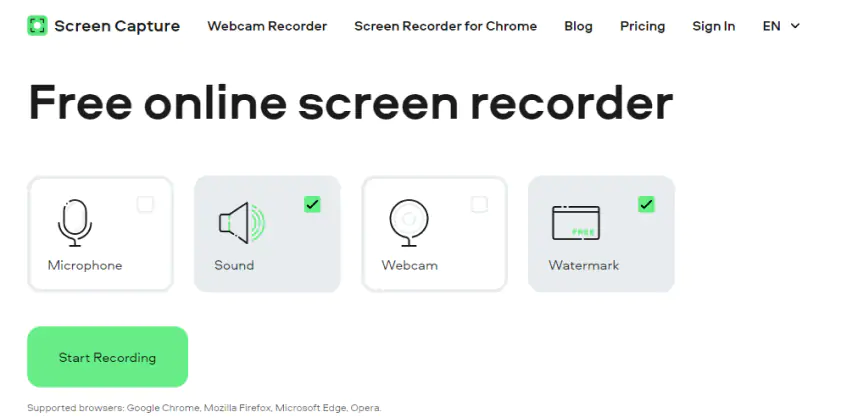
To use Free Online Screen Recorder, you should take the following steps:
Pros:
Easy to use
Web-based – no need to download and install
Cons:
Lacks functionality, compared to desktop recorders
How to capture streaming video on a Mac with a browser extension
Best for: recording and sharing directly from your browser
When you need to rip your livestream from the internet on a Mac, there are many options to choose from. However, most tools can be a little bit complicated. If you want something simple to use, a browser extension, Loom, in particular, may be your best option. Another excellent feature with Loom is that you can instantly share your files using links. As such, you do not need to worry about sending or storing large files on your computer.
One of the best aspects of Loom is that it supports collaboration as multiple people can use the platform simultaneously. Although it has a trial version, you will have to pay a monthly fee of $5 for each user. Loom has a wide range of features and is highly functional. Out of ten, a fair rating for this tool is 9.
To learn more about Loom's features, follow the link below.
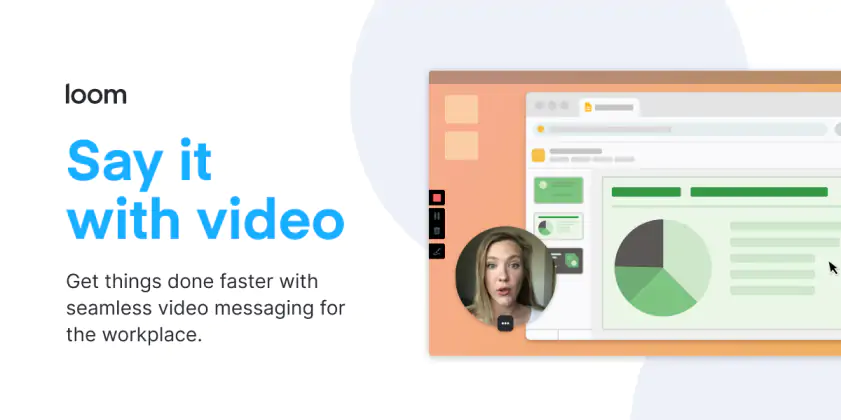
Take the following steps to use Loom:
After you finish recording, the files will be easily shareable via links.
Pros:
Relatively cheap
Real-time editing
Easy to use
Supports collaboration
Files are shared via links
Cons:
Training is only available via documents
What to look for in a screen recorder
To recap, here are a few essential things to consider when you are choosing a screen recording program.
Conclusion
Hopefully, this guide has helped you decide what to look for in a screen recorder. Check all available solutions and tips we discussed in this article, and you’ll definitely find the perfect livestream recorder that suits your needs.
Movavi Screen Recorder
The perfect way to record anything from your screen
Disclaimer: Please be aware that Movavi Screen Recorder does not allow capture of copy-protected video and audio streams.
Frequently asked questions
Popular

Have questions?
If you can’t find the answer to your question, please feel free to contact our Support Team.
Join for how-to guides, speсial offers, and app tips!
1.5М+ users already subscribed to our newsletter