5 Easy Ways to Record GoToMeeting [2024]
Try out Movavi Screen Recorder!
- Record GoToMeeting sessions in high quality
- Capture your webcam and screen
- Edit the result with built-in options
This guide explores 5 free apps for creating a GoToMeeting recording. We’ve included a screen recorder for PC, a built-in tool, an online service, and mobile apps.
Editor’s choiсe for recording high-quality videos: Movavi Screen Recorder
Recording without extra software: GoToMeeting’s built-in tool
Best for recording online: AceThinker Free Online Screen Recorder
Our goal is to provide you with only verified information. To ensure this, Movavi Content Team does the following:
When selecting products to include in our reviews, we research both demand and popularity.
The team tests all the products mentioned in this article.
When testing, we compare the key characteristics of the products, which include selecting capture area, schedule recording, showing keystrokes and mouse, and other significant features.
We study user reviews from popular review platforms and make use of this information when writing our product reviews.
We collect feedback from our users and analyze their opinions of Movavi software as well as products from other companies.

To make it easier for you to navigate through recording options, we’ve made a table with the best GoToMeeting recording software available. Doesn’t matter if you’re a Windows or a Mac user, in this table you’ll find an app that meets all your needs.
Best for: Recording high-quality videos on computers
OS: Windows 7/8/10/11, Mac OS Х 10.13 or higher
Reviews: 4.5/5 stars, 47 reviews
PC users can take GoToMeeting sessions (and webinars) using various screen recorders available in the market.
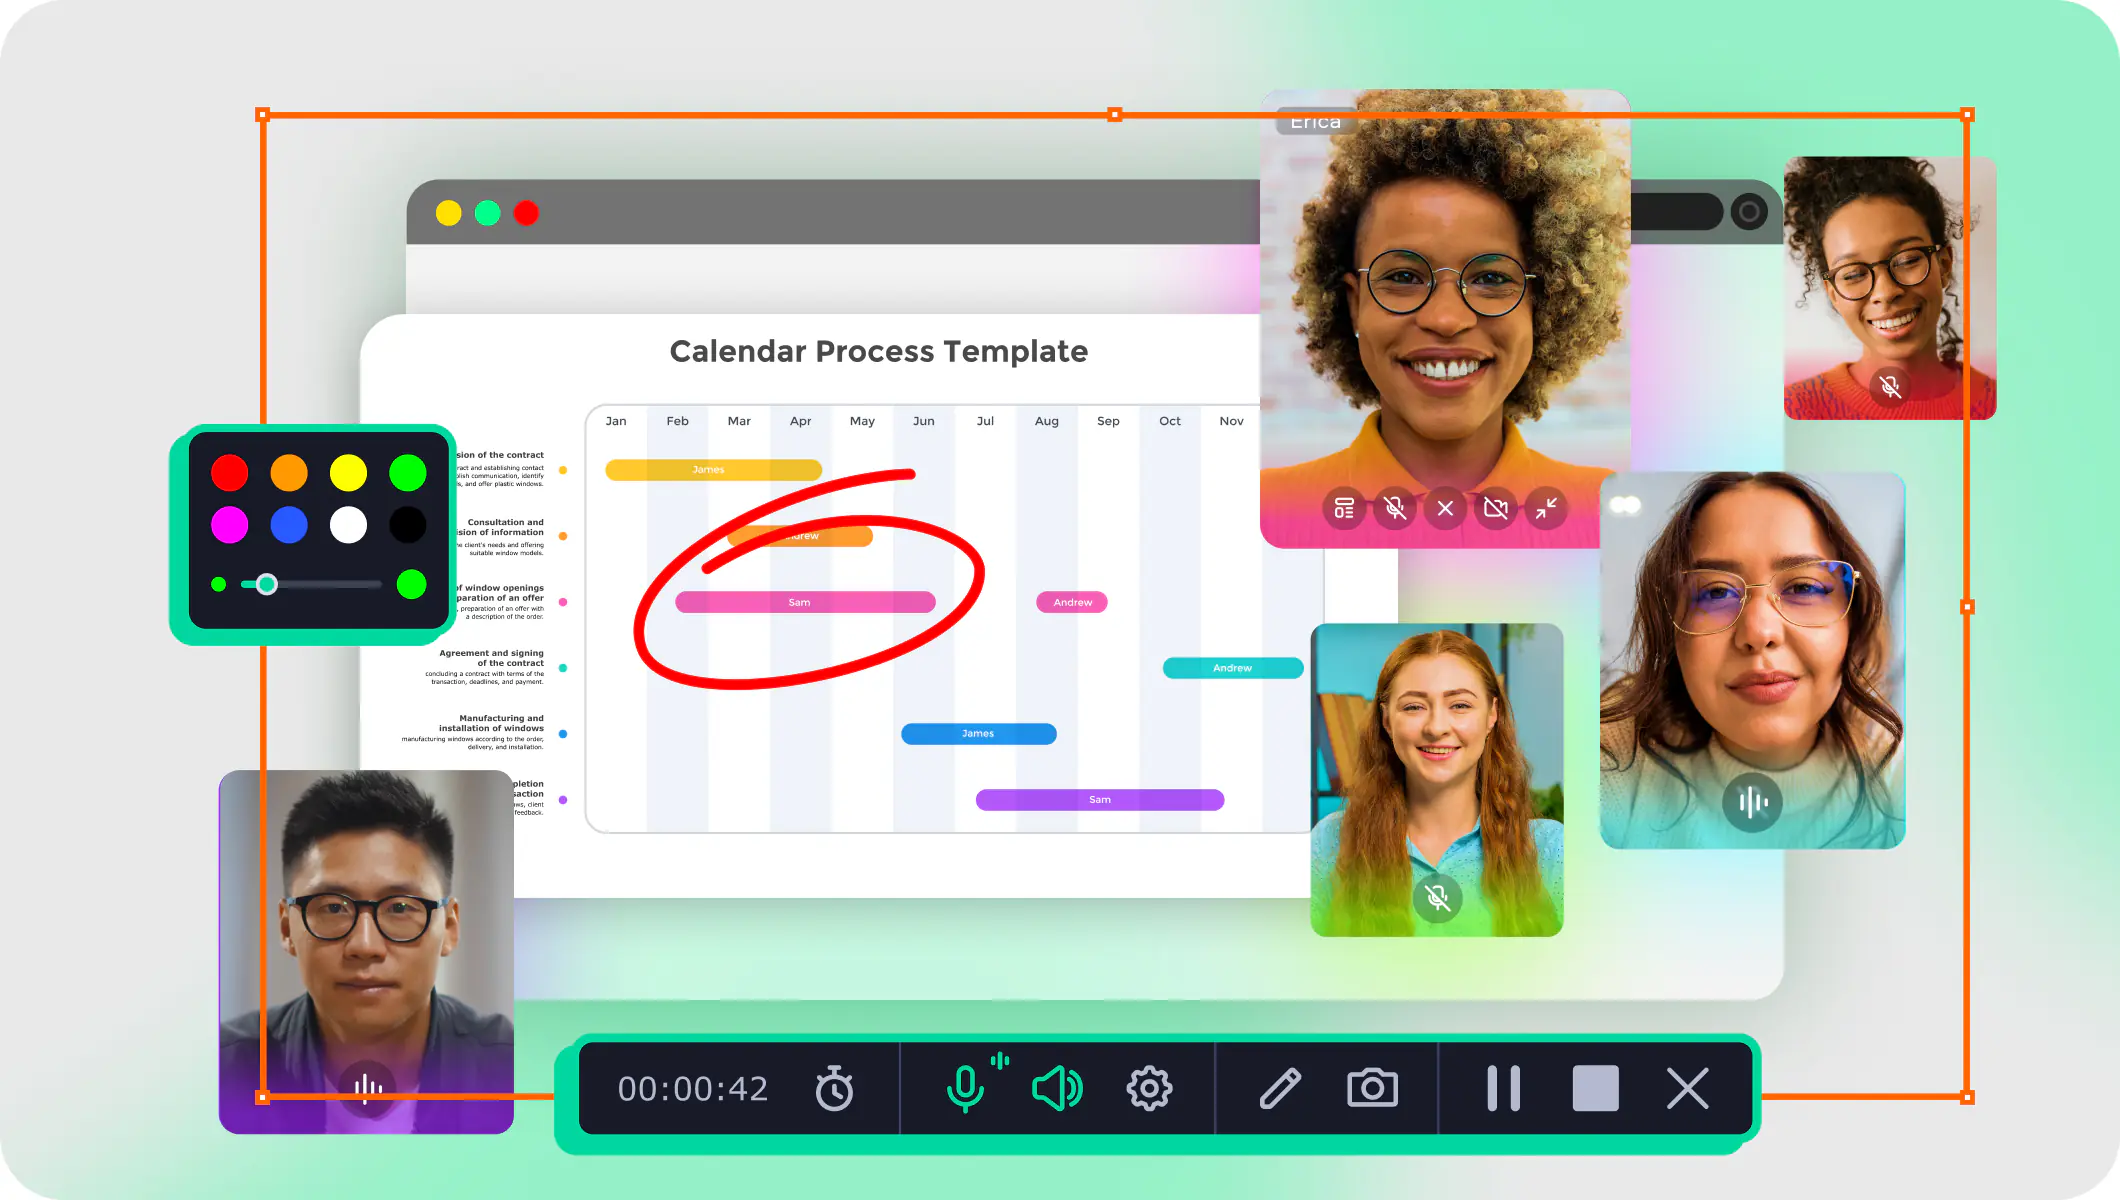
Movavi Screen Recorder is one of the exceptional screen recorders in the market. As an advanced program, Movavi Screen Recorder has a wide range of settings, including an automatic scheduler, specific keyboard & cursor effects, and same-time recording of different instances. With Movavi, you can take screen captures and edit them in the preview window. Moreover, its high-quality recordings make it easier to revisit your recording, while the built-in usage tips save you some learning time.
Features:
How to make a GoToMeeting video recording with Movavi Screen Recorder
First, download the recorder for Windows or Mac. To do so, click the appropriate button for your computer operating system, launch the installation file once the download is complete, and follow through with the installation.
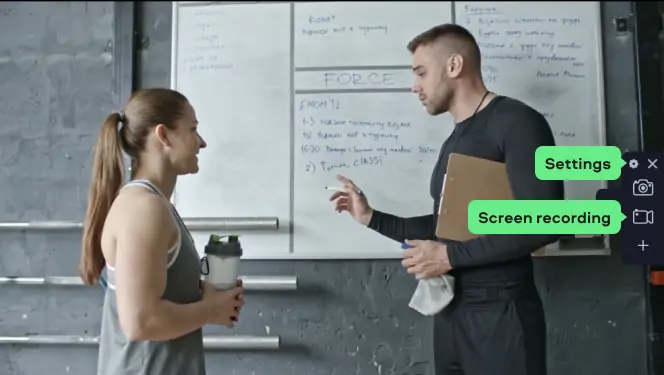
When the installation process is completed successfully, configure the preferred settings. To do so, launch the screen recorder and go to the Settings panel. On the settings window, you'll find different options, including audio and video formatting, scheduling, keystrokes, and shortcuts. Customize each to your liking.
Step 2. Start the recording
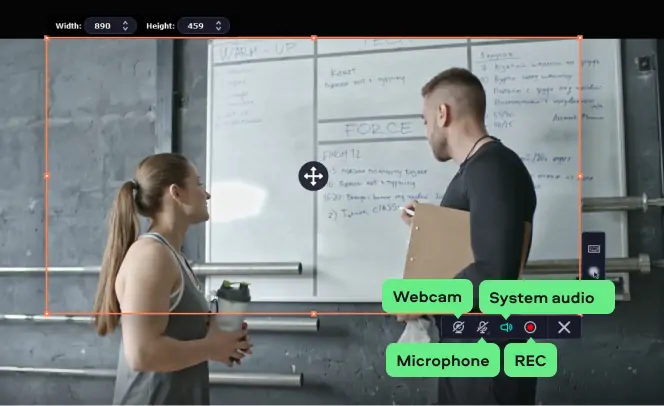
Click Start recording and adjust the recording frame as needed. As a presenter, be sure to enable the Microphone and Webcam. As a participant, disable the Microphone to eliminate external sounds and enable the System Audio to capture the internal sound. To record your GoToMeeting session, press the REC button, sit back, and enjoy the meeting.
Step 3. Take screenshots (optional)
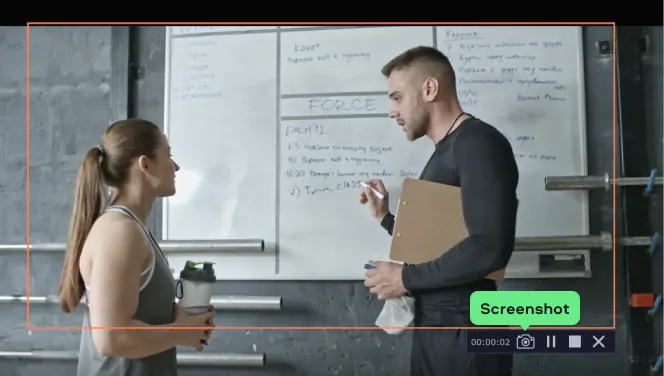
If in need of taking screenshots with the video recording in progress, hit the Screenshot icon. While at it, edit the resulting image in the preview window – if need be – all without interpreting the screen recording.
Step 4. Finish your recording
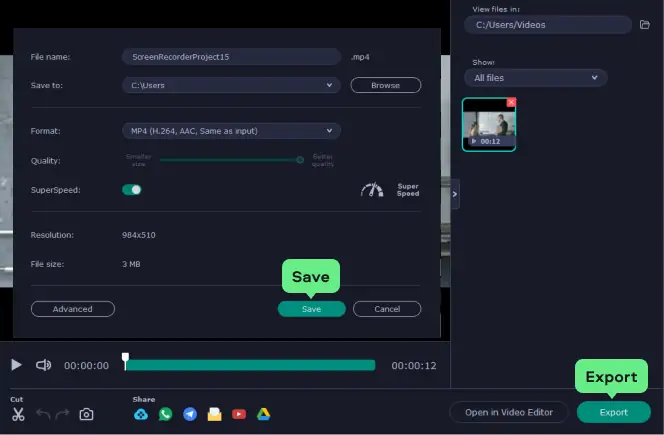
Once the webinar is over, hit Stop. In the preview window, click Export. Select your preferred video format (MP4, AVI, or MOV) in the preview window and hit the Save button. Note, you can make it easy for your workmates and friends to access the recording by uploading it to Google Drive or YouTube.
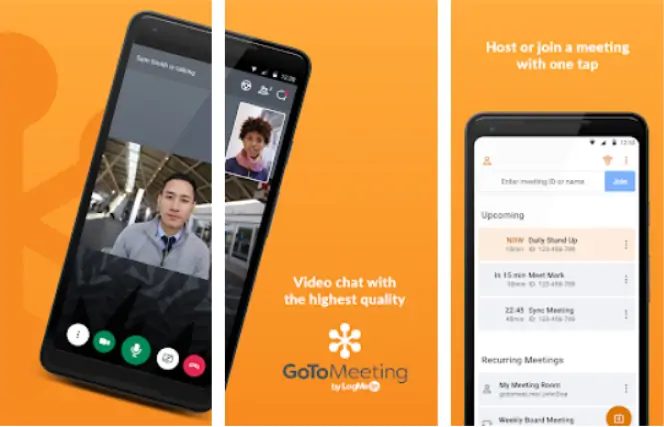
Best for: Recording GoToMeeting sessions without additional software
OS: Mac, Windows, iOS, Android, also available online
Most (if not all) devices have a built-in screen recorder, which you can use to capture video and audio at the same time – all without downloading other software/programs. Note, you're required to have free space on the hard disk (think of 100 MB+) for a successful recording.
How to record GoToMeeting sessions with a built-in tool
Locate the Organizer Control Panel and on the View panel, hit the Recording button. In the Recording window, click the Settings hyperlink.
In the Settings tab, select/disable audio or video recording options as per your preferences. Note, selecting Windows Media Player as the preferred output format calls for large hard disk space to accommodate the recorded file.
Next, select the folder in which you'll save the recording and hit OK. If you skip this step, the local recording will be saved in the Documents folder by default.
To record the webinar, click the Start Recording button. Conversely, hit the Stop Recording button once the GoToMeeting is over and give the program time to format and save the file as per your preferences.
Best for: Making GoToMeeting recordings online
OS: Any (Web-based)
Reviews: 4.5/5 stars, 174 reviews
If you don’t have much space on your device, you may be interested in online recorders. The one by AceThinker is one of the most popular online. With an average of around 4.5 out of 5 stars rating and 174 reviews, it’s a reliable pick for any user. The main advantage of the software is its ability to record any screen activity, while many other online recorders can only capture what’s happening in your browser. It also lets you draw on the screen while recording, which is essential for recording brief tutorials.
How to record GoToMeeting sessions with AceThinker
Step 1. Install the software
First, go to the official AceThinker website:
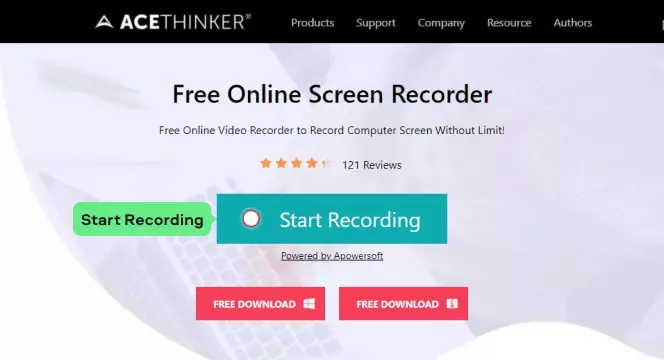
AceThinker Free Online Screen Recorder
Click Start Recording and wait for the software to install its launcher on your computer.
Step 2. Adjust the recording settings
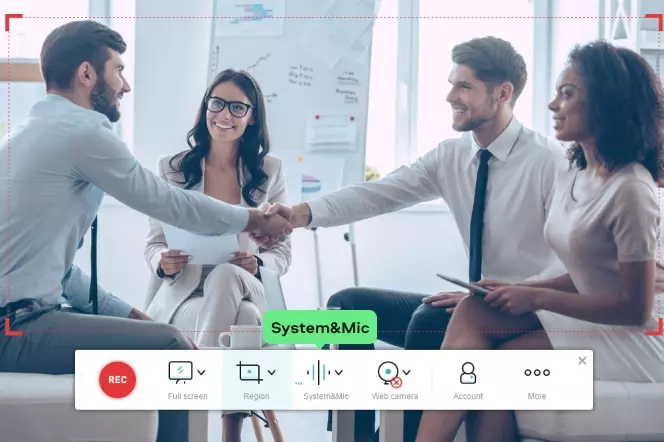
Then, set the recording frame over your GoToMeeting window. Choose the sound source (System&Mic is what you generally need for a meeting recording).
Step 3. Start recording
As soon as you’re ready to start, click REC. You can pause or stop recording whenever you need. When you’re done, you can cut out the end and the beginning of the recording, save it to your computer, or upload it online (to YouTube, Vimeo, Google Drive, Dropbox, and the Apowersoft cloud server).

Best for: iOS users
OS: iOS
Reviews: 4.6/5 stars, 261 500 reviews
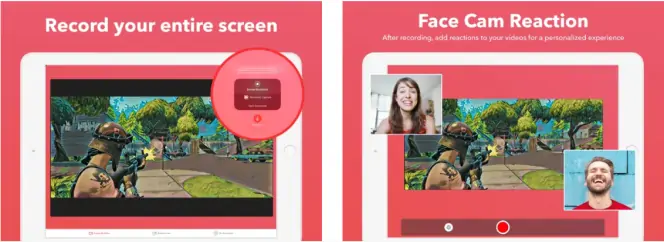
Record it! is the go-to screen recorder for iPad and iPhone users. The app has the highest rating on App Store – 4.6/5 stars from 261K verified users – and for a good reason. It enables you to record game walk-throughs, tutorials, video demos, training videos, and favorite games; while allowing you to customize the recordings with video reactions or audio commentary.
How to record GoToMeeting sessions on the Record it! app
As an attendee, download the app on the App Store following the link below and install it on your iPad or iPhone.
Next, launch the app and hit the Record it! Capture button. The recording will automatically begin, with the recorded video's length displayed next to the capture button. Once done, hit the Stop Broadcast button to end the recording session.
Note that the one-tap-to-start recording option only works with an iOS 12 – for iOS11 and below, find some easy-to-follow tutorials on YouTube.
Once done with the recording, enhance the resulting file, Camera Roll Videos, or YouTube videos with customizable FaceCam Reactions. Can you also edit the recording with various options? Yes, the app enables you to apply filters, trim and rotate your video, adjust playback speed, and change canvas and background color.
Finally, you can organize your recordings, save them to Camera Roll, upload to YouTube, or share to other apps via AirDrop or email.
Best for: Android users
OS: Android
Reviews: 4/5 stars, 3.2M reviews
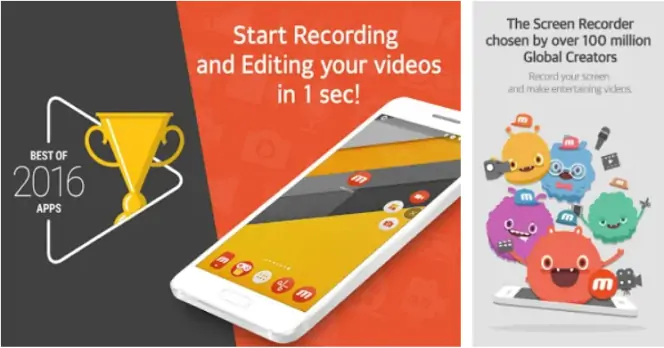
Record GoToMeeting sessions, your favorite games, video, and applications on Android with Mobizen Screen Recorder. The screen recorder is the editor's choice on Google play.
How to record GoToMeeting sessions with Mobizen Screen Recorder
First, download the Mobizen app from Google Store or Play and install it on your Android smartphone.
Next, open the app. To do so, click the Open button in Google Play or hit the Mobizen icon in your applications drawer. Either way, the Recording window will appear in the upper-right section of the screen.
To record a webinar, click the floating icon on the app and hit the Record button. Note that the capturing process takes up to 3 seconds to start.
Use the Pause button to temporarily stop the recording at any time. Once the meeting is over or when you want to end the capturing process, tap on the recording widget on the app and click the Stop button. The app will then save the recorded GoToMeeting session, tutorial, or webinar to the Android gallery.
The ability to record meetings and webinars for future reference is a necessity in the current social and work environment. Thus, follow the simple guide above to capture your GoToMeeting recordings on PC, iOS, or Android. You can start with a built-in tool and shift to other software based on your needs. While at it, remember you have a partner in Movavi – an IT company dedicated to producing quality software for photo and video editing.
5 easy ways to record GoToMeeting
Hopefully, you now feel like you have a lot of choices for choosing the ideal program to record GoToMeeting. Here are some of the most important things to consider when choosing the best screen recorder HD:
Usability: Ensure that the app or software you choose is easy to use and compatible with the way you wish to record. A lot of features can make it harder to get to grips with the software.
Features: You need to ensure that the software has all of the features and can capture video from your desktop as well as other sources such as your browser.
Price: Find a screen recorder within your budget. If possible, choose one with a free trial, so you can make sure it works for your needs before you commit.
Support: It’s a good idea to check if support is available – for example, live chat or email support.
Frequently asked questions
Was the article helpful?
Movavi Screen Recorder
The perfect way to record anything from your screen
Disclaimer: Please be aware that Movavi Screen Recorder does not allow capture of copy-protected video and audio streams.
See other useful how-to guides
Have questions?
If you can’t find the answer to your question, please feel free to contact our Support Team.
Join for how-to guides, speсial offers, and app tips!
1.5М+ users already subscribed to our newsletter