- Learn more about Chroma Key
- Make a DIY-green screen
- Plan production setup
- Edit your green screen video with Movavi
How to Make and Use a Green Screen
Chroma keying technique
Using a green screen can take your video project from good to great by precisely swapping the green screen with a digital backdrop of your choice, be it a serene beach or the depths of outer space. So what is a green screen? How does a green screen work?
What is a green screen, and how does it work?
The green screen tool incorporates chroma key, a post-production technique that layers two images or video streams by turning the green color transparent. Here’s a quick rundown: videographers film with a smooth, monochrome green screen backdrop, then use chroma key in post to make the green color (chroma) transparent, and replace (key) it with the editor’s chosen background.
Why is green the best color? Because it gives the most contrast with natural human skin tones. In the final stage, the background color will be removed from the video. If the background color is similar to skin tone, people’s faces will disappear from the movie. You can also use a blue screen background, but it will require twice as much light and may cause problems when filming people with dark hair or clothing.
How to make a DIY-green screen
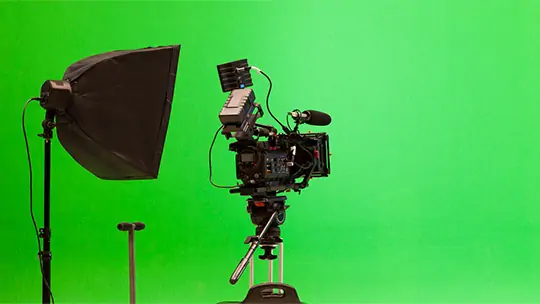
A Chroma Key video is impossible to make without the most important “ingredient” – a green screen. The cheapest a professional green screen can be is $50 – a reasonable price for an advanced clip-maker, but a little too much for a first-timer. If you’re not ready to invest in professional equipment, simply make your own green screen. A DIY-green screen can be just as good as a professional one if made appropriately.Here is how to make a green screen.
How to use a green screen
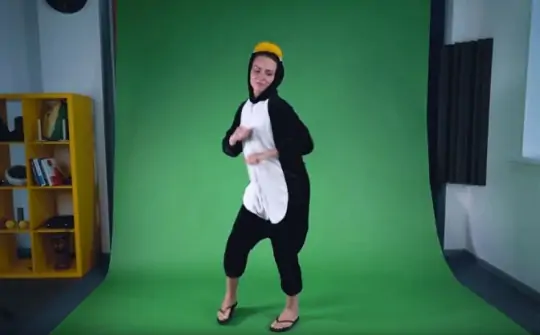
Now that you have a green background for editing, it’s time to learn a few tricks. Chroma key green screen videos are quite challenging to shoot. Still, the preparatory steps we are to describe are vital and will affect post-production dramatically, so you’ll want to learn how to green screen properly. Here are some tips on how to use a green screen to create a stunning video.
Adjust the lighting
Lighting is integral to green screen footage, but it’s more than throwing some lights on the set and calling it a day. The Chroma Key technique works because the green screen is consistent and monotone. Adding too much direct light can disrupt the results.
So what’s the best way to light a green screen? With diffused, soft lights. This kind of lighting will eliminate hot spots and shadows, guaranteeing your final product looks smooth and natural – so much so that viewers believe you indeed filmed in outer space! For lighting, try diffusion filters and stick to one consistent type of lamp (fluorescent or tungsten). When lighting from multiple angles, consider buying the same light twice or thrice instead of syncing all light sources. This will help further guarantee a cohesive green screen come editing time. You’ll also want to light the green screen and your actors separately to avoid shadows. Study the background footage you’re swapping in to ensure the lighting on actors naturally mirrors the lighting you’d expect from that type of footage.Focus on backdrop details
Set up your camera
Plan the general production setup
Where to download green screen videos
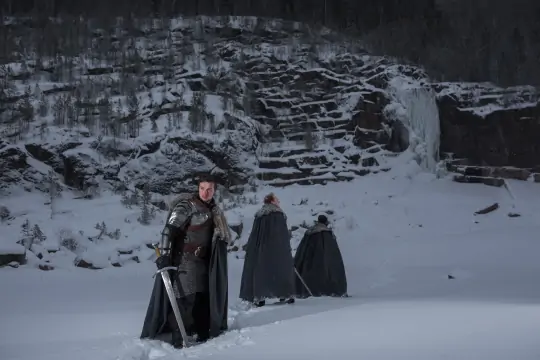
If you’re looking for a ready-made video with a green screen, download it from one of the sources listed below.
One of the most popular sources of royalty-free green screen videos is Pixabay: more than three hundred videos and still pictures can be found there.
You can also find excellent green screen effects for free on Pexels: this website stocks about a thousand royalty-free green screen clips that anyone can download.
Finally, you can download green screen stock footage for free from Videezy, another multimedia file source.
Now you know where you can find green screen videos, but what about the backgrounds? You can either record videos yourself or download ready-made ones from a stock video website. Storyblocks is one such source. It’s an online video library with lots of stunning and funny backgrounds and animations in HD quality.
If you need still images for your video, Storyblocks Image Library is one of the best options – you’ll find awesome digital photos and clip art in high resolution.
How to edit a green screen video with Movavi
The right green screen software will make Chroma Keying both effective and seamless. Try Movavi Video Editor to create stunning clips.
Step 1. Install Movavi Video Editor
Download and install Movavi Video Editor on your PC or Mac. After the installation is complete, launch the program.
Step 2. Import your media files to the program
Remember that in a Chroma Key video, one element is used as a background and the other – foreground. It can be two videos or a video and a picture. The foreground must be green screen footage. Now add the files that you want to combine using the Chroma Key technique. Click Add Files on the File import tab and select the appropriate items in the window that appears. Click Open to add the files to the program’s Media Bin.
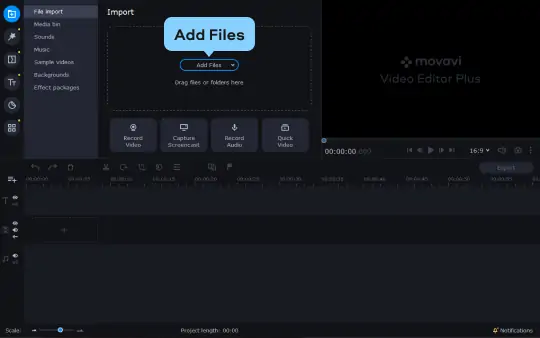
Step 3. Edit your footage using the green screen video effect
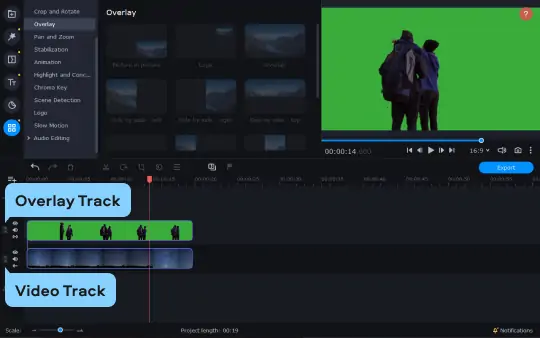
Drag both items from the Media Bin onto the Video Track. Then select the video you’re going to use as the foreground and drag it up. When you do, an Overlay Track will appear.
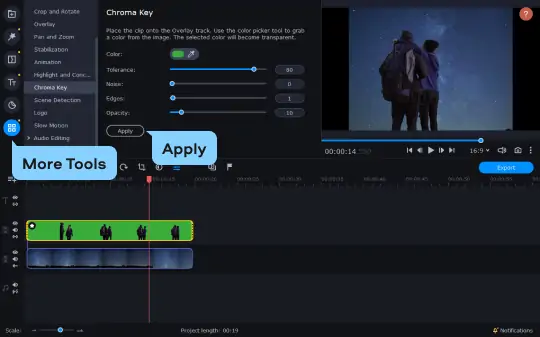
In the More Tools menu, select the Chroma Key tab. Click anywhere on the background of the video in the preview screen using the color picker tool – this will make the selected color transparent. Adjust the Tolerance, Noise, Edges, and Opacity parameters as you wish and click Apply. The background will automatically change to the one you’ve chosen.
Step 4. Save your chroma key video
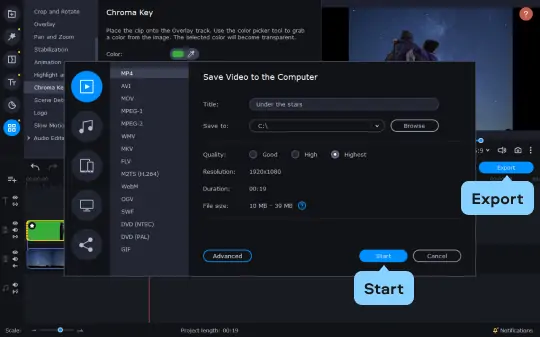
When you are happy with the result, click the Export button. In the window that appears, enter the title, select the appropriate video format, quality, and destination folder. When everything is set, click Start.
This is how to edit a green screen video with the Movavi software. It also offers impressive effects such as Slow Motion, stylization, and everything you might need for a Hollywood-like movie!
Frequently asked questions
Movavi Video Editor
Сreate awesome videos easily
*The free version of Movavi Video Editor may have the following restrictions depending on the build: watermark on exported clips, 60-second video or 1/2 audio length limit, and/or some advanced features unavailable when exporting videos.
Have questions?
If you can’t find the answer to your question, please feel free to contact our Support Team.
You may also like
An easy way to record from your screen in HD. Make video footage of any application, record online streaming video, webinars, even Skype calls, and save clips in all popular formats
An intuitive photo-editing app that lets you retouch any photo on the fly. Improve quality, add filters and captions, remove unwanted objects, change backgrounds, and more!
Join for how-to guides, speсial offers, and app tips!
1.5М+ users already subscribed to our newsletter